
Art collecting can seem pretty intimidating if you’ve never purchased an original work of art before. But art collecting isn’t just for millionaires or the elite. Anyone can collect original art, and it is possible to buy affordable art. It’s just a matter of doing your research and figuring out what you like.
1. Educate before buying
Before you start going to places with the mindset of buying art, you should learn more about your options. Doing research before you go to a gallery setting or approach an artist, will make you have a clear idea of what you want to buy. I don’t know about you, but I definitely like feeling prepared before I discuss large purchases with a seller. I like knowing what questions to ask so I don’t get caught off guard.
2. Buy what you like
Don’t feel the need to buy an artist’s work because someone else you know likes them. You should only buy work that you genuinely like. When it comes to buying anything, you should purchase things that make you happy and that you enjoy. Don’t just buy a work of art because the artist is an up and comer and you only want the investment. You should also like the artwork.
3. Study artists
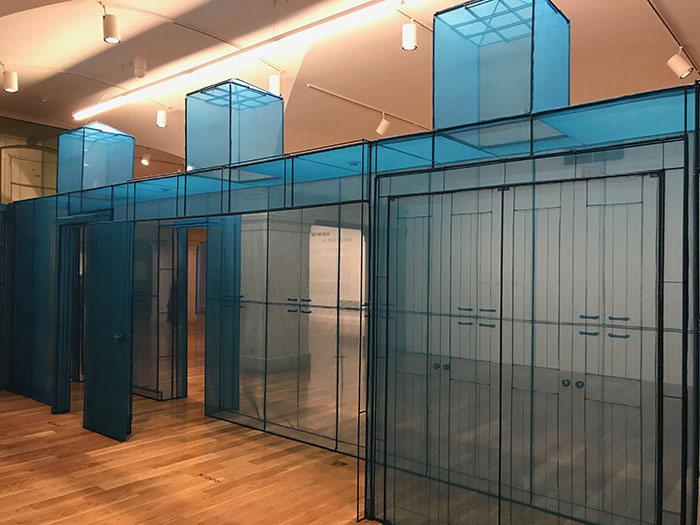
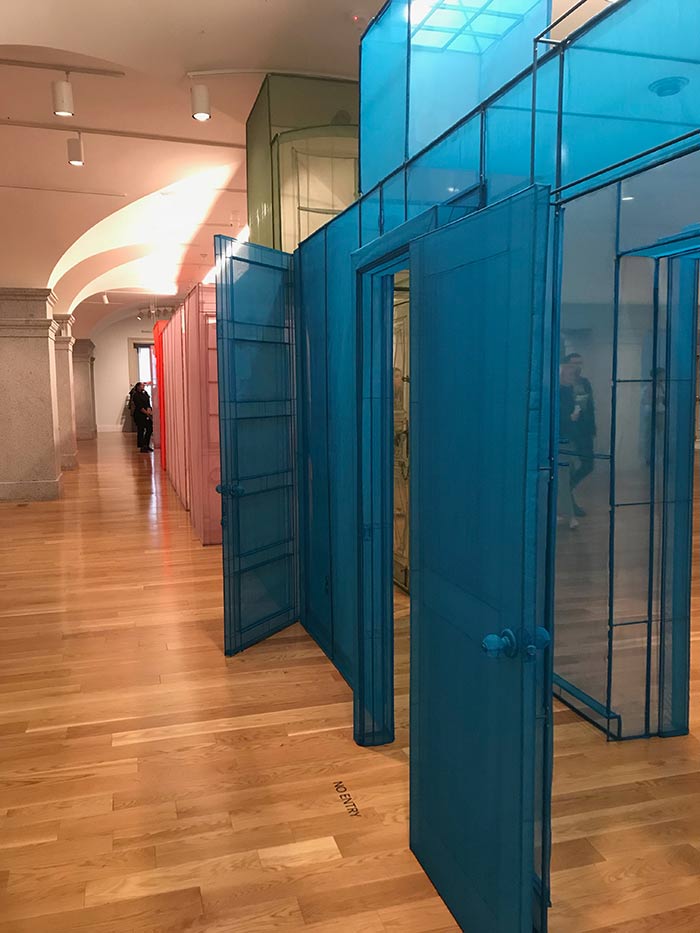
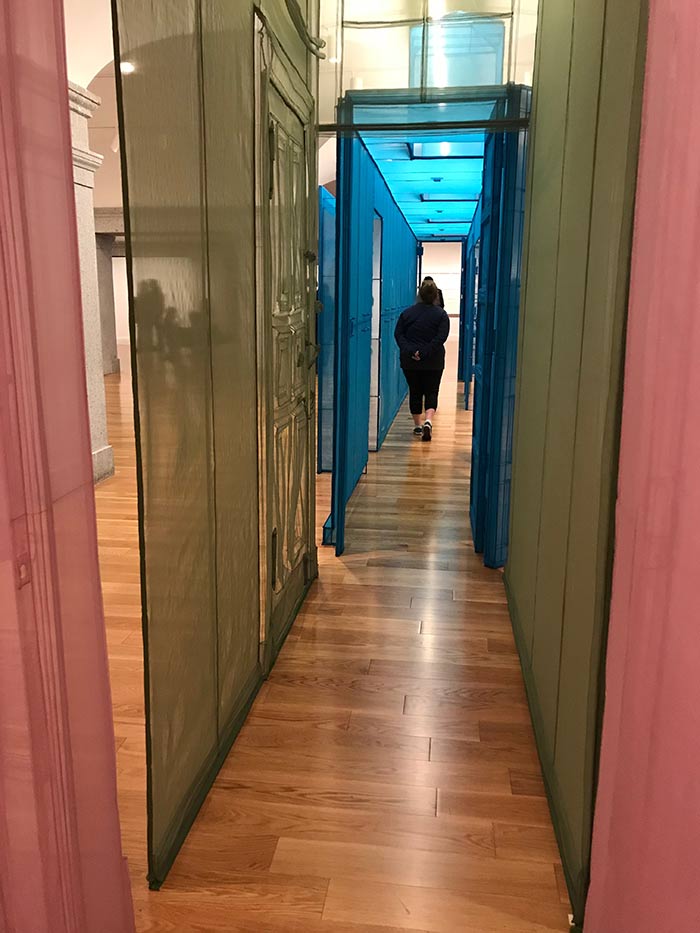
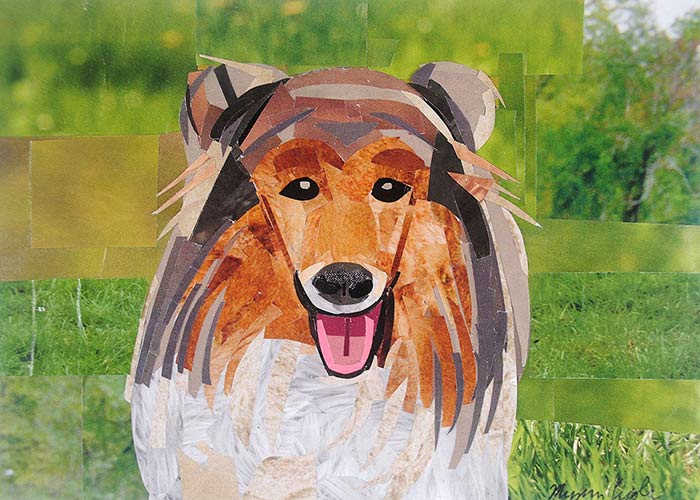
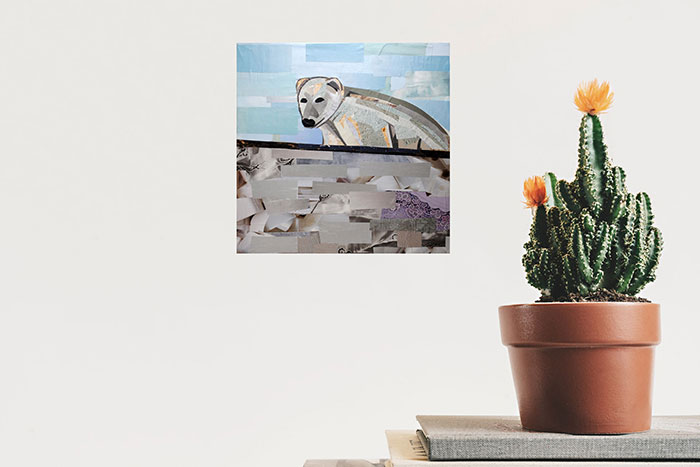
Sometimes it’s a struggle to figure out what you really like, which can make the art buying process difficult. One way to figure out what kind of art you like is to study artists. You can do this by going to museums and galleries to get a sense of what different styles of art are out there. Take note of the techniques you’re drawn to as well as the medium and color palettes that catch your eye. Then start keeping an eye out for artwork that fits those characteristics when you start to frequent places that sell original art. Study local and international artists, and search for artists who make the type of art that “calls” to you.
4. Create a budget
Art doesn’t have to cost thousands of dollars. You can easily find work that costs hundreds or even less than one-hundred dollars. Figure out the price range you’re comfortable with, and limit your search to that range.
5. Buy over time
It’s better to buy art over time instead of all at once. That way you can take your time with finding artwork that not only appeals to you, but also fits your budget. If you find one work of art that you really enjoy, but it’s not quite what you want, you can also approach the artist to see if he or she makes custom art. Custom art can take a little while to get created, but if you have a sense for what you’re looking for, it’s an excellent way to grow your collection.
6. Buy from galleries, auctions, and artists
When you know what kind of art you want, and have researched what’s selling on the market, you can start your collection by buying from galleries, auctions, or directly from artists. Galleries can be a great way to learn about new artists, where you can later look the artists up online to see what other work they’ve made. Auctions can be a great way to purchase artwork at lower prices, or if it’s a charity auction, you can also donate to a good cause while acquiring excellent artwork at the same time.
7. There isn’t good art, just art that you like
I feel a need to reiterate this – that you should only buy artwork you like. Don’t listen to what others try to tell you about what’s good or bad art. Listen to your heart, and listen to what you tell yourself about what’s good art to you. Art is very subjective, and there’s no such thing as universally “good” art – there’s just art that you like.
8. Don’t rush it
Don’t let galleries, artists, or consultants make you feel rushed when you’re buying art. You should take your time and make sure you’re looking at art that you truly want before making a large purchase.
Art-buying can seem like a stressful process, but it doesn’t have to be that way. If you do your research, and search for artwork that fits the style you like within the budget you set, art-buying should be a breeze.