How to Give an Artist Talk

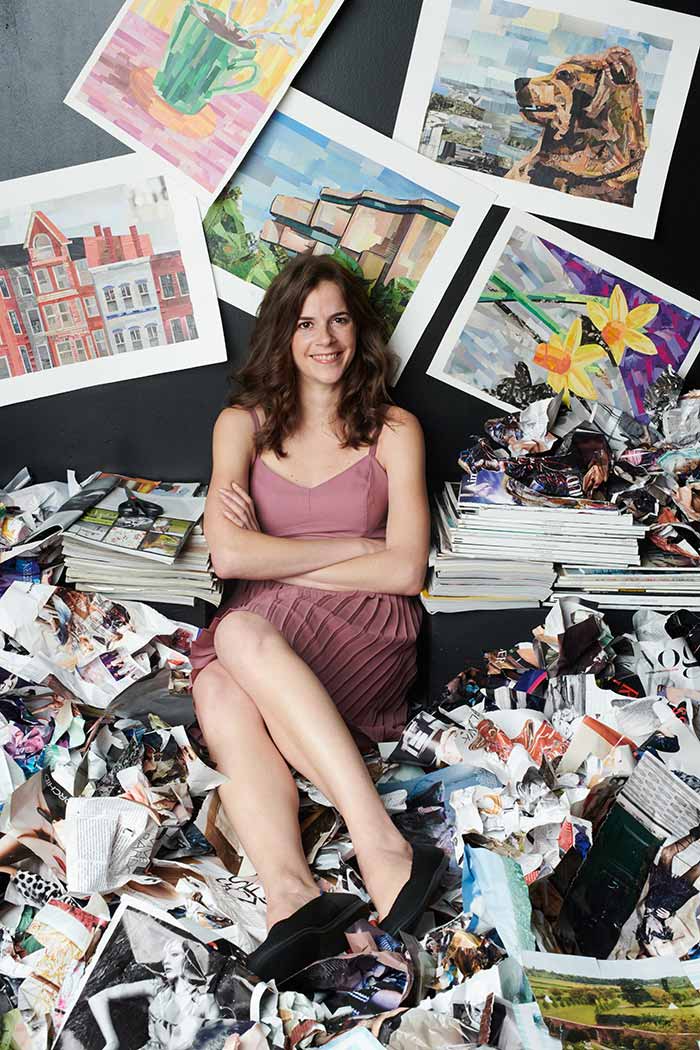
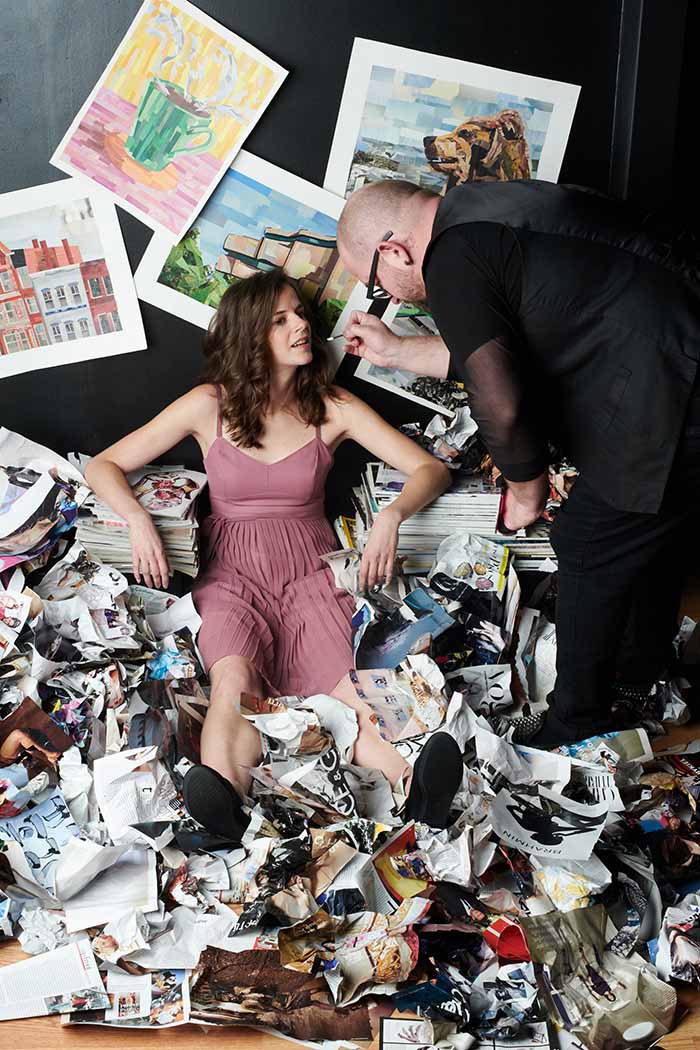
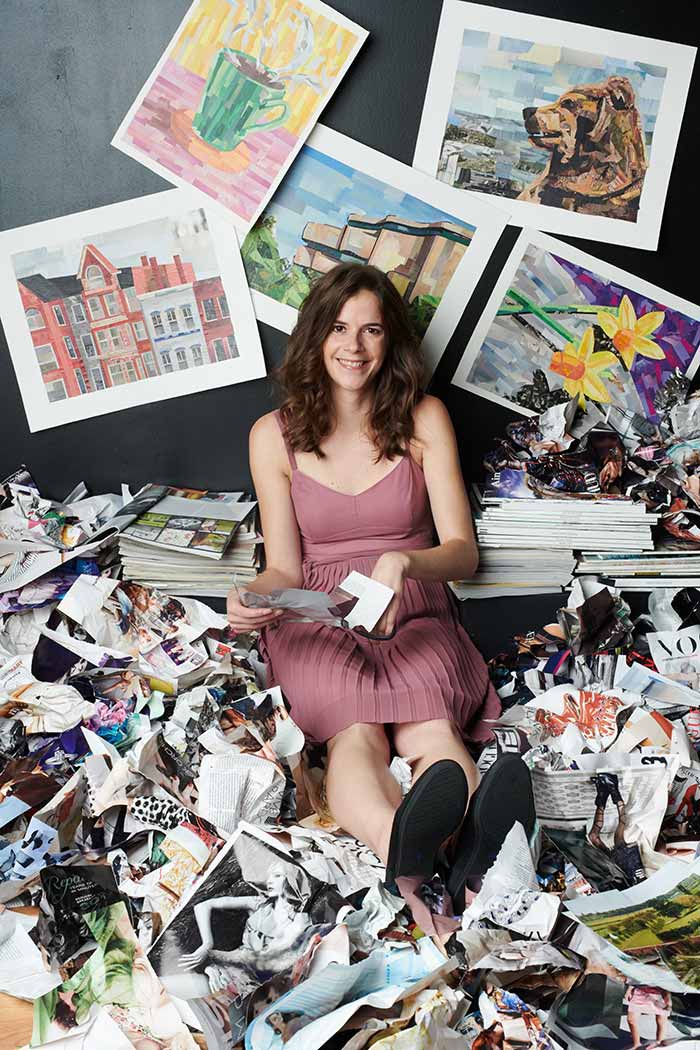
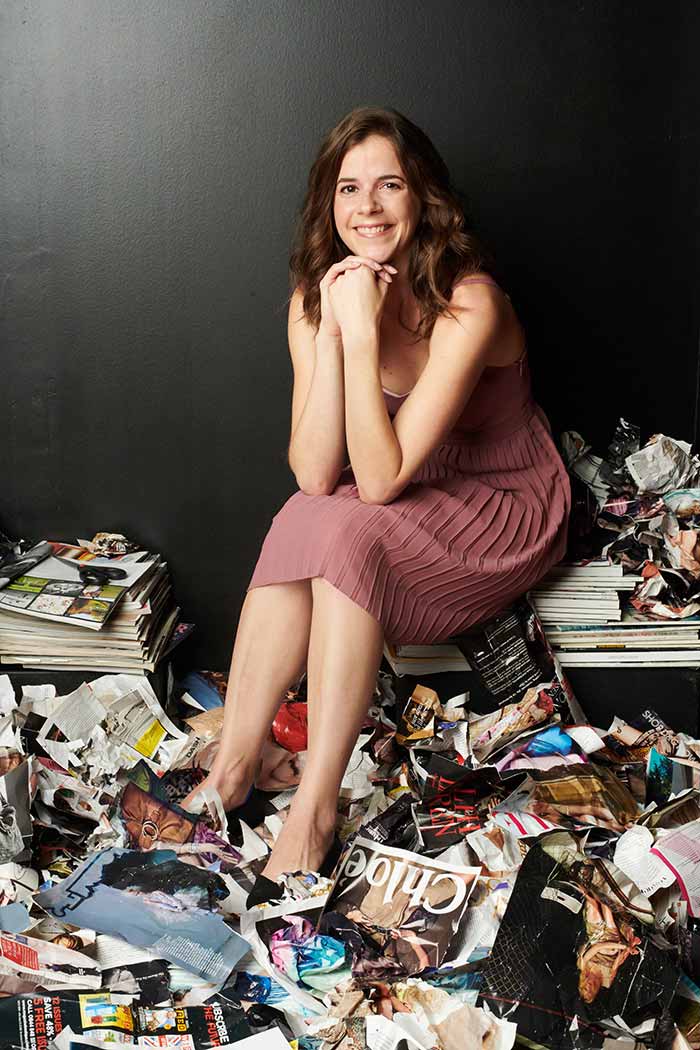
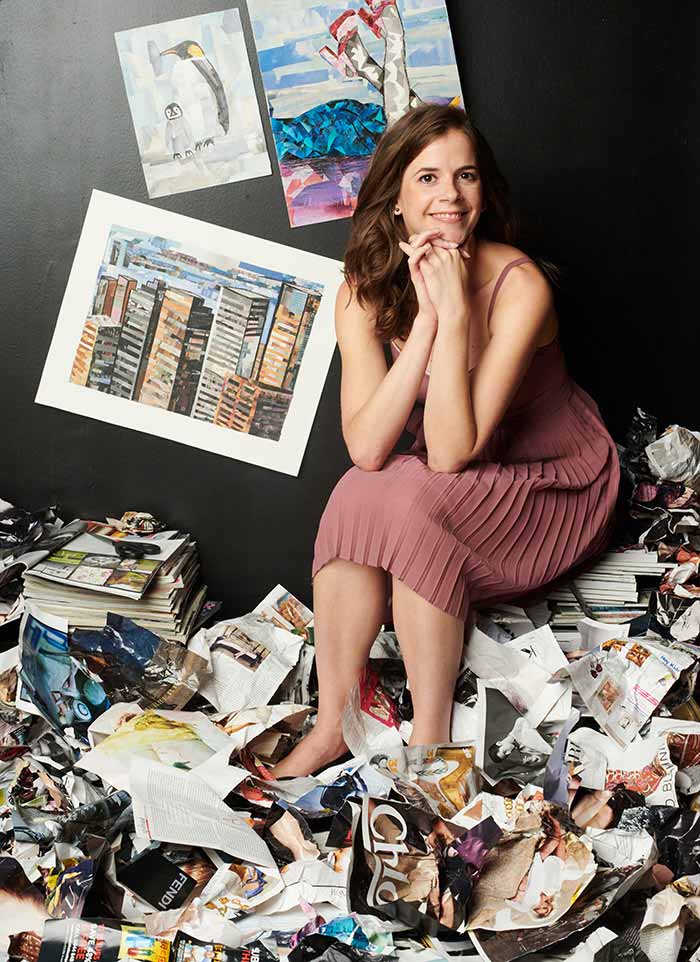
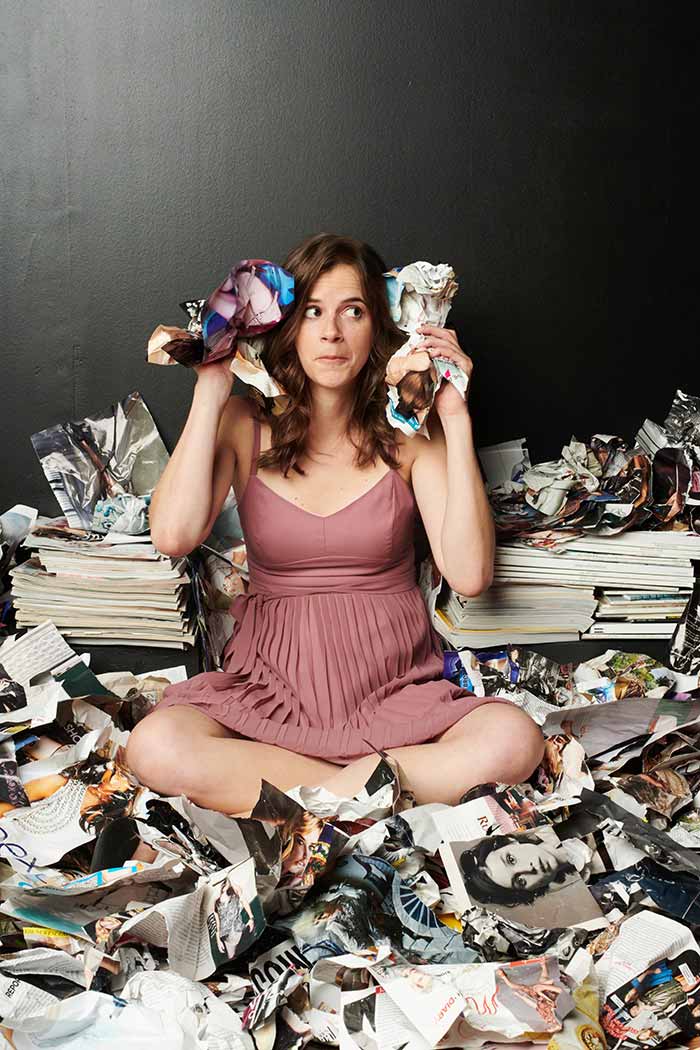
Megan Coyle giving an artist talk

It’s important for artists to know how to talk about their artwork so they can promote it to the public. Giving talks helps others understand your process, technique, and the underlying meaning behind your work. If you have to give an artist talk, but are a little stuck on how to get started, here are some ideas to help you out:

1. Brainstorm

Take some time to brainstorm possible topics to cover. What sets your work apart from other artists? How does your artwork fit in with what’s currently available on the market? What projects are you most proud of? Or what projects or series are you hoping to complete in the future?

2. Write a rough draft of your talk

I generally like to create an outline first of what I want to talk about, and then I expand on the details later. I like to use the following format:

  • Brief overview of my background and studies
  • How I got started with being an artist
  • Who are my influences
  • A walkthrough of my process and technique
  • More details on the subject matter I cover
  • A look at the meaning behind some of my work
  • My plans for future projects or series to work on
  • Closing remarks

3. Expand on the topics in your rough draft

Think about the narrative you can write for each topic. What stories can you tell? Sharing anecdotes can help make your talk more engaging for listeners.

4. Rehearse your talk

I usually like to over-rehearse my talks, just to know for sure that I know everything I want to say by heart, and so I won’t stumble over my words. I’d recommend practicing in front of a mirror, as well as practicing while staring across the room, so you can have a couple of different ways of experiencing the artist talk delivery process.

5. Brainstorm other topics when talking to individuals after the talk

Think about talking points about your work that you don’t cover in your talk, that you can use when chatting with people in the crowd.


So there you have it – a few ideas to help get you started. And feel free to let me know if you have any questions. I’m always looking to improve on the resources I’m writing.

Bosty goes to Harry Potter World

Bosty goes to Harry Potter World by Megan Coyle

Bosty is actually a pretty big fan of the Harry Potter books by J.K. Rowling, so the other day he went on a weekend trip to Harry Potter World in Orlando, Florida. He loved visiting their recreation of Hogsmeade.

Bosty goes to Harry Potter World by Megan Coyle

And had to stop by Honeydukes to get some chocolate frogs.

Bosty goes to Harry Potter World by Megan Coyle

Next, he wanted to go to Hogwarts to wait in line for one of the Harry Potter themed rides.

Bosty goes to Harry Potter World by Megan Coyle

Afterwards, we headed to the Hogsmeade train station to catch the Hogwarts Express to the other end of the theme park.

Bosty goes to Harry Potter World by Megan Coyle

He really enjoyed all the recreated storefronts like Screed and Sons.

Bosty goes to Harry Potter World by Megan Coyle

And what do you know? They even had the Knight Bus that visitors could pose in front of!

Bosty goes to Harry Potter World by Megan Coyle

Before ending the day of wandering all around the park and waiting in line for different rides, Bosty wanted to take a look at their recreation of Diagon Alley.

Bosty goes to Harry Potter World by Megan Coyle

One of his favorite parts of Diagon Alley, was getting to see the dragon that actually breathed fire every few minutes.

It was definitely a fun day, filled with strolling by beautiful recreations of settings from the books, popping into magical shops, and getting a quick thrill from theme park rides.

Art Collecting 101

Polar Bear by collage artist Megan Coyle

Art collecting can seem pretty intimidating if you’ve never purchased an original work of art before. But art collecting isn’t just for millionaires or the elite. Anyone can collect original art, and it is possible to buy affordable art. It’s just a matter of doing your research and figuring out what you like.

1. Educate before buying

Before you start going to places with the mindset of buying art, you should learn more about your options. Doing research before you go to a gallery setting or approach an artist, will make you have a clear idea of what you want to buy. I don’t know about you, but I definitely like feeling prepared before I discuss large purchases with a seller. I like knowing what questions to ask so I don’t get caught off guard.

2. Buy what you like

Don’t feel the need to buy an artist’s work because someone else you know likes them. You should only buy work that you genuinely like. When it comes to buying anything, you should purchase things that make you happy and that you enjoy. Don’t just buy a work of art because the artist is an up and comer and you only want the investment. You should also like the artwork.

3. Study artists

Sometimes it’s a struggle to figure out what you really like, which can make the art buying process difficult. One way to figure out what kind of art you like is to study artists. You can do this by going to museums and galleries to get a sense of what different styles of art are out there. Take note of the techniques you’re drawn to as well as the medium and color palettes that catch your eye. Then start keeping an eye out for artwork that fits those characteristics when you start to frequent places that sell original art. Study local and international artists, and search for artists who make the type of art that “calls” to you.

4. Create a budget

Art doesn’t have to cost thousands of dollars. You can easily find work that costs hundreds or even less than one-hundred dollars. Figure out the price range you’re comfortable with, and limit your search to that range.

5. Buy over time

It’s better to buy art over time instead of all at once. That way you can take your time with finding artwork that not only appeals to you, but also fits your budget. If you find one work of art that you really enjoy, but it’s not quite what you want, you can also approach the artist to see if he or she makes custom art. Custom art can take a little while to get created, but if you have a sense for what you’re looking for, it’s an excellent way to grow your collection.

6. Buy from galleries, auctions, and artists

When you know what kind of art you want, and have researched what’s selling on the market, you can start your collection by buying from galleries, auctions, or directly from artists. Galleries can be a great way to learn about new artists, where you can later look the artists up online to see what other work they’ve made. Auctions can be a great way to purchase artwork at lower prices, or if it’s a charity auction, you can also donate to a good cause while acquiring excellent artwork at the same time.

7. There isn’t good art, just art that you like

I feel a need to reiterate this – that you should only buy artwork you like. Don’t listen to what others try to tell you about what’s good or bad art. Listen to your heart, and listen to what you tell yourself about what’s good art to you. Art is very subjective, and there’s no such thing as universally “good” art – there’s just art that you like.

8. Don’t rush it

Don’t let galleries, artists, or consultants make you feel rushed when you’re buying art. You should take your time and make sure you’re looking at art that you truly want before making a large purchase.

Art-buying can seem like a stressful process, but it doesn’t have to be that way. If you do your research, and search for artwork that fits the style you like within the budget you set, art-buying should be a breeze.

Do Ho Suh’s Almost Home at the Smithsonian American Art Museum

Do Ho Suh

Yesterday I stopped by the Smithsonian American Art Museum to see Do Ho Suh’s Almost Home exhibit. The immersive installation features hand-sewn recreations of homes where Suh has lived around the world.

Do Ho Suh

It was amazing getting to see his attention to detail up-close and in-person. I was especially impressed with the doorknobs and piping that ran throughout the installation.

Do Ho Suh

We waited in line briefly before we could walk through the installation of bright colors. The transparent fabric made the whole art piece have a dreamlike, hazy quality.

Do Ho Suh

Around the installation were several smaller pieces and studies by Suh. I was fascinated by the colors he used, and again, those details! One of my favorites was the fire extinguisher that he recreated with fabric.

Do Ho Suh

Above you can see his fabric microwave creation.

Do Ho Suh

A couple of these radiators were also inside the installation.

Do Ho Suh

And one of the more unusual pieces was a recreation of a circuit breaker. I suppose it just seemed unusual since even though it is a detail that every home has, it’s something you don’t really expect to see represented in art.

It was definitely a fun visit taking a look at Do Ho Suh’s work. As an artist, it’s important to see what others are creating out there. That way you can get a new perspective on other artwork that’s being made, and get your own inspiration for new work.

Group Exhibit: Framing Feminism

Afternoon in the Park by collage artist Megan Coyle
“Afternoon in the Park” Collage on paper. 5″x7″
Order a print

April 5th – May 20th, 2018
Dacha Loft; Washington, DC

A dozen of Coyle’s collages will be on display in a group exhibit run by Monochrome Collective and Dacha Beer Garden. The majority of Coyle’s collages featured in the exhibit depict scenes inspired by the DC landscape, as well as a couple of still life and animal pieces. 5% of all artwork sales will be donated to The Washington Area Women’s Foundation. Their mission is to “Mobilize our community to ensure that economically vulnerable women and girls in the Washington region have the resources they3 need to thrive.”

This is the first time in five years that Coyle is exhibiting her artwork in the area. The show will have three events with limited space for viewing the work, so contact Megan if you’re interested in getting on the guest list for the opening, artist talk, or closing reception. Otherwise viewings can be made by appointment only.

Opening Reception: April 5, 6:30PM to 9:00PM
Artist Talk: May 10
Closing Reception: May 20

Megan Coyle's Artist Talk

Dacha Loft
1600 7th St NW
Washington, DC 20001

Why Do Artists Create Self Portraits?

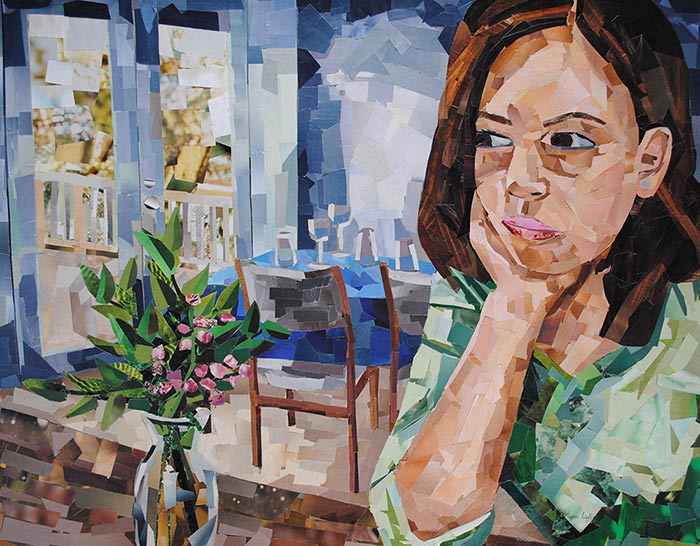
The New York Diner by collage artist Megan Coyle

A self portrait is a representation of an artist created by that artist. Self portraits have been made in every medium imaginable – photographs, paintings, drawings, sculptures, and many more. If you’re an admirer of art, and have frequented museums and galleries, you’ve most likely seen quite a few self portraits – and I have to admit that I have made quite a few self portraits over the years. So, why exactly do artists make self portraits? Here are a few reasons why:

1. Practice

Self portraits help artists tackle the figure. The more an artist can render a portrait, even if it’s just of her or his self, the better an artist can get at depicting people. The human form is a pretty complex subject to tackle, so the more practice, the better.

2. A Convenient Model

It’s common for artists to draw from life, which means using models. Hired models can be pricy, and that expense can add up, so drawing from life by looking in a mirror is a lot cheaper. Also, making self portraits is really convenient – you can always pose for yourself whenever you want to, while hiring models or having someone pose for you means you’ll have to figure out scheduling.

3. To explore themes and ideas in their artwork

Self portraits can also be used for a series exploring various compositions with underlying meaning, such as the exploration of the artist’s self.

4. Record the artist’s self

Self portraits can also be used to record the way the artist looked at the time the portrait was made.

So there you have it, a few reasons why artists make self portraits. If you’re an artist and have another reason why you make self portraits, feel free to reach out to me and let me know what it is!

A Piece of Cake

A Piece of Cake by collage artist Megan Coyle
“A Piece of Cake” Collage on paper. 5″x7″
Order a print

I had a lot of fun working on this collage, and I’ve been getting a lot of joy from working on my latest series of minimalist desserts. I think I was previously focusing too much on animal portraits, and having more change in my routine helps get the creativity flowing. I’m planning to make a few more pieces for this series before changing gears again. It’s been fun trying to find new ways to sharpen my collage-making skills.

This piece of cake was pieced together rather smoothly. I think the most difficult part was trying to get the coloring for the background to work the way I wanted it to. Initially it was a more vibrant pink, although I wanted to find colors that were more subdued so that the cake itself would stand out more. You can also see that I focused more on finding solid colors from the magazine strips I layered, with only a few bits of texture.

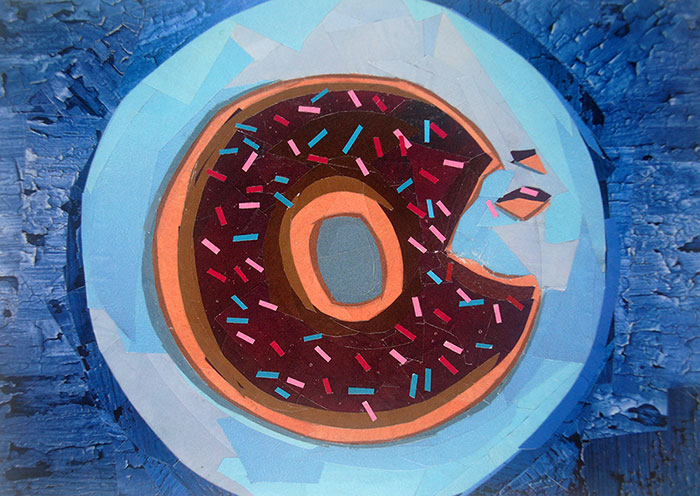
You’re Pretty Sweet

You're Pretty Sweet ice cream cone by collage artist Megan Coyle
“You’re Pretty Sweet” Collage on paper. 7″x5″
Order a print

If you’ve followed my blog, you’ve probably noticed that the vast majority of my work focuses on wildlife. I’ve always had an affinity to animals, and I suppose that’s why time and time again, I’ve been drawn to making animal collages. However, lately I’ve wanted to change things up a bit. So right now I’m tackling a series of minimalist still life work, that explores various desserts.

At some point I’ll want to explore other aspects of still life compositions, but for now, I’m going to keep it sweet with my focus on sweets.

How to Make a Paper Collage

Pretty as a Peacock by collage artist Megan Coyle

Pretty as a Peacock by collage artist Megan Coyle

Collage is a medium that involves layers – usually layers of paper, magazine cutouts, or photographs – although there are artists who make collages with other found materials. If you’re new to making collages, paper collages are a great place to start since the materials are relatively easy to find, and the medium is so flexible. You can easily add layers of paper as well as peel back previous layers, which is especially useful if you want to “undo” any of your work during the process.

Here’s how you can get started:

1. Decide what you want to collage

Figure out if you want to make an abstract or representational collage, and think about what color palette you’d like to use. Do you want to make more of a traditional collage, or do you want to paint with paper?

2. Find your inspiration

If you’re using reference photos, collect photographs you’ve taken to help guide your work.

3. Gather your materials

If you’re working with found paper, take some time to find a variety of paper you can use. Or sift through magazines and photographs to find possible imagery to use. Sort the paper based on color and texture to make it easier to assemble your collage. You should also find:

  • Glue
  • Varnish
  • Scissors
  • Pencil and eraser
  • Paper (or the support you want to collage on, let that be canvas, panel, etc)

4. Plan your collage

With pencil, sketch out an idea of what the composition will look like on your support. If it’s going to be more of an abstract collage, plan out the general look and feel you’re going for. You can plan as little or as much as you need to.

Pretty as a Peacock sketch by collage artist Megan Coyle

5. Start collaging

With scissors, cut the paper into different shapes and fragments. You can arrange the pieces of paper on the page before gluing them down, or you can cut out shapes and glue them as you move along. Layer the paper where needed, and peel back layers when needed. To make the collage process more flexible, use an acid free glue stick. Glue sticks are a much less permanent glue, which makes the process more flexible since it’s easier to peel back previous layers.

Pretty as a Peacock work in progress by collage artist Megan Coyle

6. Varnish your collage

Since paper collage is made up of paper, it’s a very delicate medium. Varnishing your collage will help seal in the pieces so they don’t easily fall apart. UV protective varnishes will also protect the paper from light.

Pretty as a Peacock by collage artist Megan Coyle

7. Frame your collage

Once your work of art is complete and the varnish has dried, you should frame your new collage to help protect it even more. Use acid-free matting and UV-protective glass. Since custom framing can be pricy, consider making your artwork with dimensions that fit standard sized frames.

Now you’re ready to share your artwork with the world!

Bosty goes to Montreal

Bosty the Boston Terrier by Megan Coyle goes to Montreal

Bosty wanted to escape the winter in Washington, DC, so he jetted off to…Montreal, Canada. I suppose he wanted to swap one cold winter for a colder one. Anyway, he decided to spend a weekend exploring the streets and running through the snow.

Bosty the Boston Terrier by Megan Coyle goes to Montreal

He also really enjoyed a lot of the street art in the area. Even though it was his first time to the city, he decided to admire the overall environment instead of playing tourist the entire time.

Bosty the Boston Terrier by Megan Coyle goes to Montreal

Murals even caught his eye at night when he strolled through the snowy streets.

Bosty the Boston Terrier by Megan Coyle goes to Montreal

He loved seeing all the night lights, especially ones that were strung across the street.

Bosty the Boston Terrier by Megan Coyle goes to Montreal

And on the last night of his trip, he decided to do at least one touristy thing – ride the La Grande Roue de Montréal, otherwise known as the Montreal Observation Wheel. It was a wonderful way to say farewell to the city by getting a good look at the skyline.

Lightbox Image