
Collage is a medium that involves layers – usually layers of paper, magazine cutouts, or photographs – although there are artists who make collages with other found materials. If you’re new to making collages, paper collages are a great place to start since the materials are relatively easy to find, and the medium is so flexible. You can easily add layers of paper as well as peel back previous layers, which is especially useful if you want to “undo” any of your work during the process.
Here’s how you can get started:
1. Decide what you want to collage
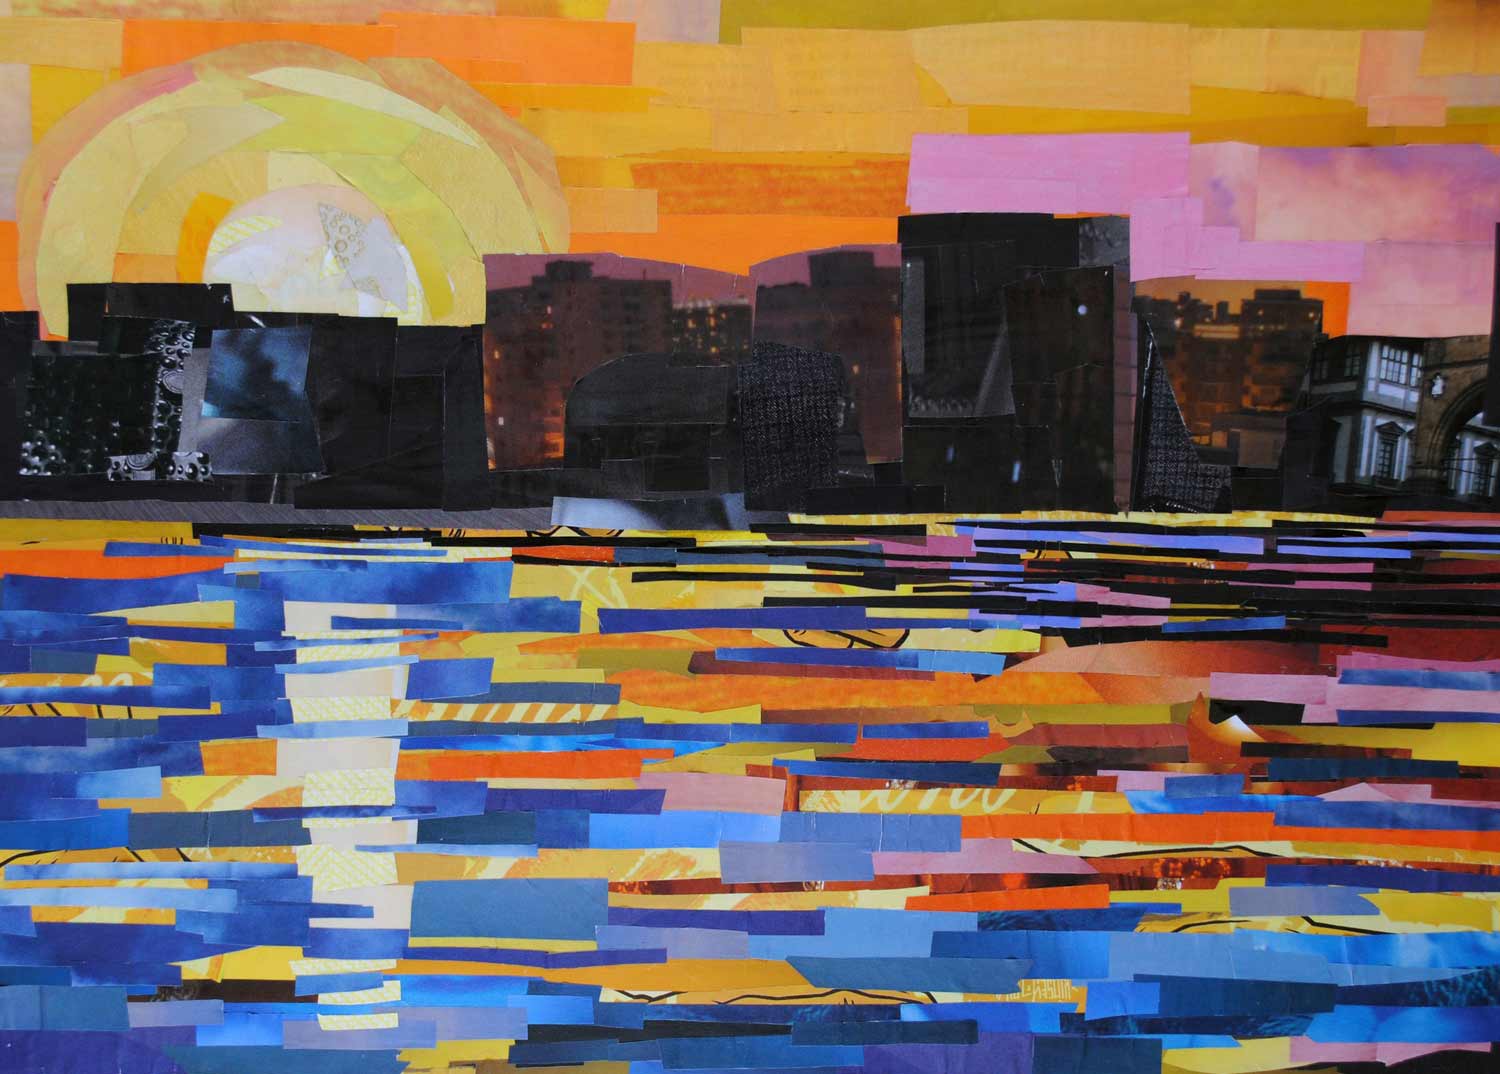
Figure out if you want to make an abstract or representational collage, and think about what color palette you’d like to use. Do you want to make more of a traditional collage, or do you want to paint with paper?
2. Find your inspiration
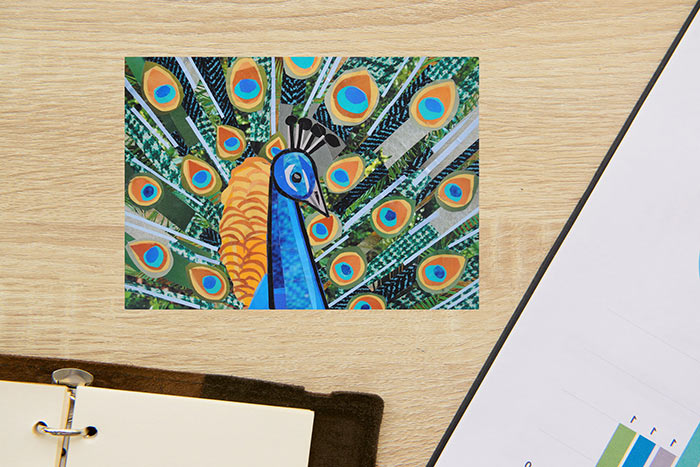
If you’re using reference photos, collect photographs you’ve taken to help guide your work.
3. Gather your materials
If you’re working with found paper, take some time to find a variety of paper you can use. Or sift through magazines and photographs to find possible imagery to use. Sort the paper based on color and texture to make it easier to assemble your collage. You should also find:
- Glue
- Varnish
- Scissors
- Pencil and eraser
- Paper (or the support you want to collage on, let that be canvas, panel, etc)
4. Plan your collage
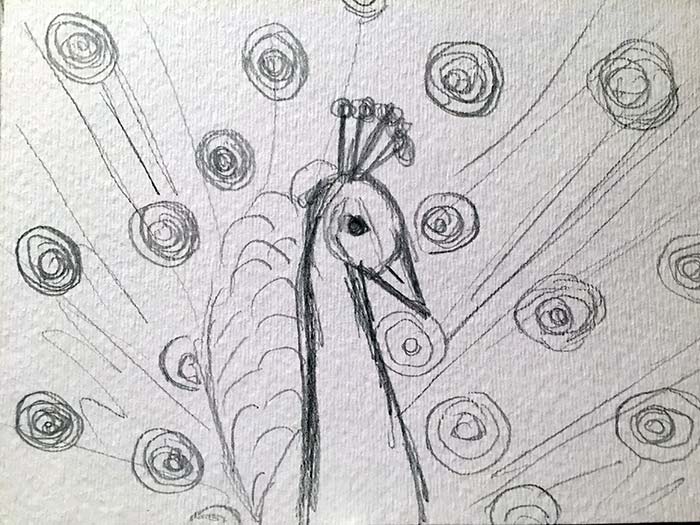
With pencil, sketch out an idea of what the composition will look like on your support. If it’s going to be more of an abstract collage, plan out the general look and feel you’re going for. You can plan as little or as much as you need to.
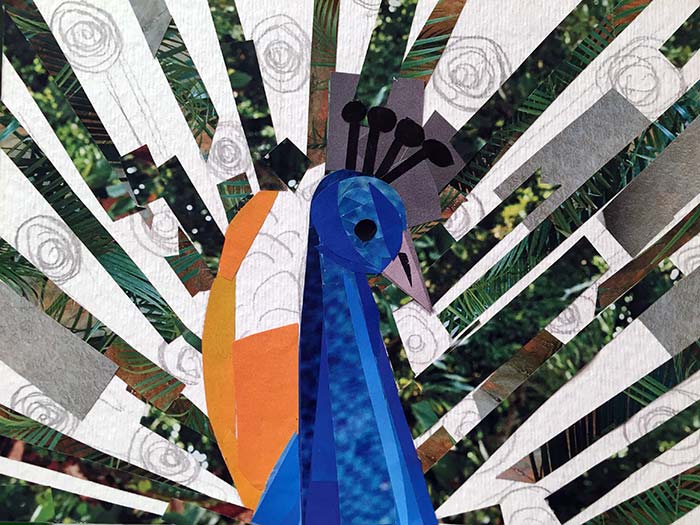
5. Start collaging
With scissors, cut the paper into different shapes and fragments. You can arrange the pieces of paper on the page before gluing them down, or you can cut out shapes and glue them as you move along. Layer the paper where needed, and peel back layers when needed. To make the collage process more flexible, use an acid free glue stick. Glue sticks are a much less permanent glue, which makes the process more flexible since it’s easier to peel back previous layers.
6. Varnish your collage
Since paper collage is made up of paper, it’s a very delicate medium. Varnishing your collage will help seal in the pieces so they don’t easily fall apart. UV protective varnishes will also protect the paper from light.
7. Frame your collage
Once your work of art is complete and the varnish has dried, you should frame your new collage to help protect it even more. Use acid-free matting and UV-protective glass. Since custom framing can be pricy, consider making your artwork with dimensions that fit standard sized frames.
Now you’re ready to share your artwork with the world!

I am very interested ☺