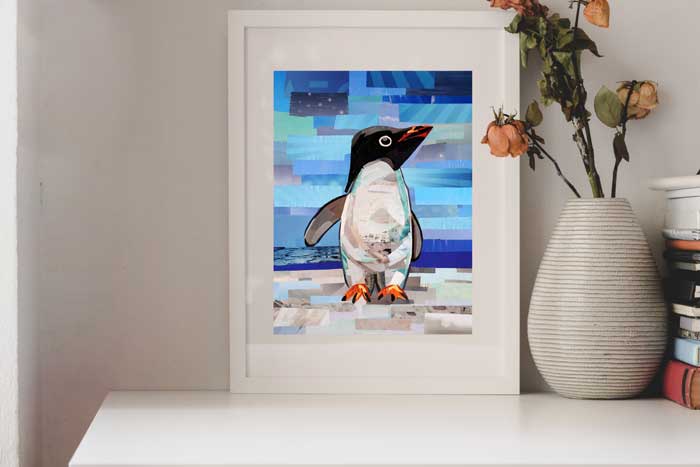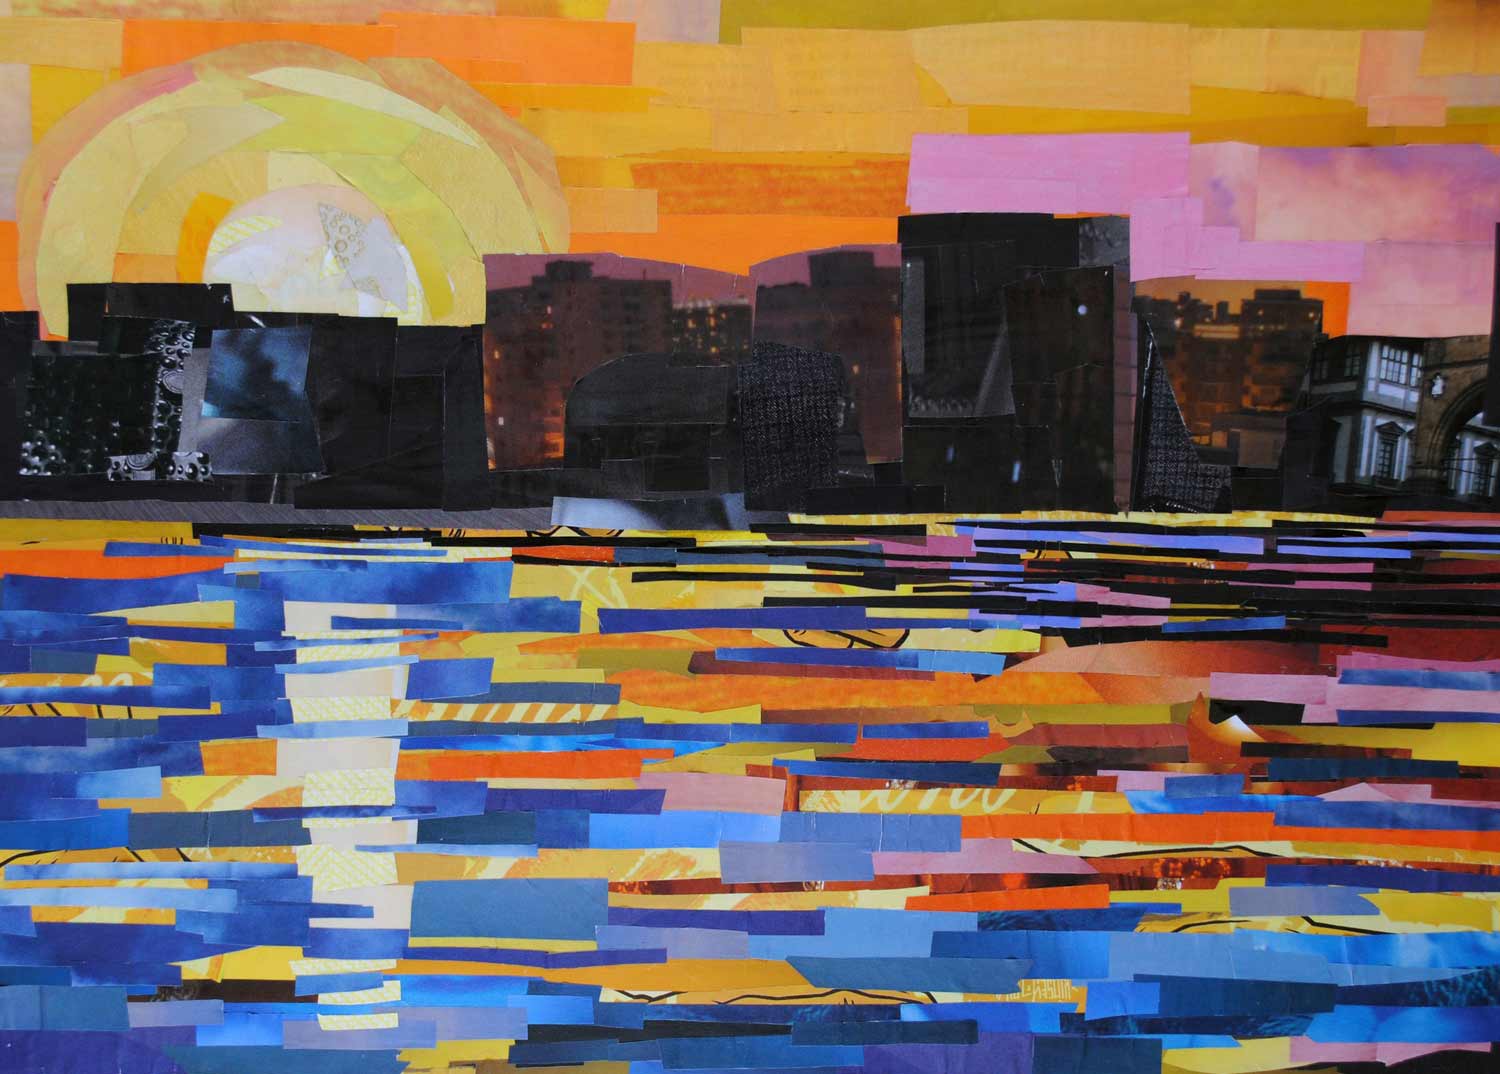
When you see one of my collages in-person, it’s difficult to tell what they’re made of. I think when it comes to art in general, it’s hard to imagine how a work of art was completed from start to finish. I like to post time lapse videos of my process every now and then, but I also thought I’d share more information about the tools I use to make my artwork:
1. Magazines
These are the main ingredient of my art. I like using fashion magazines since they’re full of patterns and bright colors. I also like using magazines like National Geographic when I work on landscapes.
2. Scissors
These are my tool of choice when I cut paper for my collages. I don’t ever use things like X-Acto knives, although I’ve heard of some collage artists who enjoy using them for cutting intricate pieces of paper.
3. Watercolor paper
I like using this as my support or the material I make my collages on. It’s lightweight enough that I can cut out pieces of a collage I’m working on – if it isn’t quite working out – and glue them down on another sheet of watercolor paper. It’s also durable enough that it can last for years.
4. Acid-free glue stickes
This is my adhesive of choice. I like using glue sticks when I’m working on a work in progress, since the glue isn’t completely permanent, and I can pull up previous pieces to undo any details that aren’t quite working.
5. Graphite pencils and erasers
Every collage I make begins as a sketch. It helps me map out my compositions so I can get a sense of how well a given idea will work. And erasers are necessary for when I need to redo parts of a sketch.
6. UV-protective varnish
When one of my pieces is finished, I’ll varnish it with a UV-protective varnish. Varnish helps seal the magazine strips in place, and gives them a more permanent adhesive than the glue sticks I use when the artwork isn’t quite complete. It also helps protect the paper from sunlight over time.
7. Archival frames
Whenever I frame my artwork, I like to use UV-protective glass and acid-free mats to help protect my artwork over time.


