How to Give an Artist Talk

Megan Coyle giving an artist talk

It’s important for artists to know how to talk about their artwork so they can promote it to the public. Giving talks helps others understand your process, technique, and the underlying meaning behind your work. If you have to give an artist talk, but are a little stuck on how to get started, here are some ideas to help you out:

1. Brainstorm

Take some time to brainstorm possible topics to cover. What sets your work apart from other artists? How does your artwork fit in with what’s currently available on the market? What projects are you most proud of? Or what projects or series are you hoping to complete in the future?

2. Write a rough draft of your talk

I generally like to create an outline first of what I want to talk about, and then I expand on the details later. I like to use the following format:

  • Brief overview of my background and studies
  • How I got started with being an artist
  • Who are my influences
  • A walkthrough of my process and technique
  • More details on the subject matter I cover
  • A look at the meaning behind some of my work
  • My plans for future projects or series to work on
  • Closing remarks

3. Expand on the topics in your rough draft

Think about the narrative you can write for each topic. What stories can you tell? Sharing anecdotes can help make your talk more engaging for listeners.

4. Rehearse your talk

I usually like to over-rehearse my talks, just to know for sure that I know everything I want to say by heart, and so I won’t stumble over my words. I’d recommend practicing in front of a mirror, as well as practicing while staring across the room, so you can have a couple of different ways of experiencing the artist talk delivery process.

5. Brainstorm other topics when talking to individuals after the talk

Think about talking points about your work that you don’t cover in your talk, that you can use when chatting with people in the crowd.


So there you have it – a few ideas to help get you started. And feel free to let me know if you have any questions. I’m always looking to improve on the resources I’m writing.

Why Do Artists Create Self Portraits?

The New York Diner by collage artist Megan Coyle

A self portrait is a representation of an artist created by that artist. Self portraits have been made in every medium imaginable – photographs, paintings, drawings, sculptures, and many more. If you’re an admirer of art, and have frequented museums and galleries, you’ve most likely seen quite a few self portraits – and I have to admit that I have made quite a few self portraits over the years. So, why exactly do artists make self portraits? Here are a few reasons why:

1. Practice

Self portraits help artists tackle the figure. The more an artist can render a portrait, even if it’s just of her or his self, the better an artist can get at depicting people. The human form is a pretty complex subject to tackle, so the more practice, the better.

2. A Convenient Model

It’s common for artists to draw from life, which means using models. Hired models can be pricy, and that expense can add up, so drawing from life by looking in a mirror is a lot cheaper. Also, making self portraits is really convenient – you can always pose for yourself whenever you want to, while hiring models or having someone pose for you means you’ll have to figure out scheduling.

3. To explore themes and ideas in their artwork

Self portraits can also be used for a series exploring various compositions with underlying meaning, such as the exploration of the artist’s self.

4. Record the artist’s self

Self portraits can also be used to record the way the artist looked at the time the portrait was made.


So there you have it, a few reasons why artists make self portraits. If you’re an artist and have another reason why you make self portraits, feel free to reach out to me and let me know what it is!

How to Make a Paper Collage

Pretty as a Peacock by collage artist Megan Coyle

Pretty as a Peacock by collage artist Megan Coyle

Collage is a medium that involves layers – usually layers of paper, magazine cutouts, or photographs – although there are artists who make collages with other found materials. If you’re new to making collages, paper collages are a great place to start since the materials are relatively easy to find, and the medium is so flexible. You can easily add layers of paper as well as peel back previous layers, which is especially useful if you want to “undo” any of your work during the process.

Here’s how you can get started:

1. Decide what you want to collage

Figure out if you want to make an abstract or representational collage, and think about what color palette you’d like to use. Do you want to make more of a traditional collage, or do you want to paint with paper?

2. Find your inspiration

If you’re using reference photos, collect photographs you’ve taken to help guide your work.

3. Gather your materials

If you’re working with found paper, take some time to find a variety of paper you can use. Or sift through magazines and photographs to find possible imagery to use. Sort the paper based on color and texture to make it easier to assemble your collage. You should also find:

  • Glue
  • Varnish
  • Scissors
  • Pencil and eraser
  • Paper (or the support you want to collage on, let that be canvas, panel, etc)

4. Plan your collage

With pencil, sketch out an idea of what the composition will look like on your support. If it’s going to be more of an abstract collage, plan out the general look and feel you’re going for. You can plan as little or as much as you need to.

Pretty as a Peacock sketch by collage artist Megan Coyle

5. Start collaging

With scissors, cut the paper into different shapes and fragments. You can arrange the pieces of paper on the page before gluing them down, or you can cut out shapes and glue them as you move along. Layer the paper where needed, and peel back layers when needed. To make the collage process more flexible, use an acid free glue stick. Glue sticks are a much less permanent glue, which makes the process more flexible since it’s easier to peel back previous layers.

Pretty as a Peacock work in progress by collage artist Megan Coyle

6. Varnish your collage

Since paper collage is made up of paper, it’s a very delicate medium. Varnishing your collage will help seal in the pieces so they don’t easily fall apart. UV protective varnishes will also protect the paper from light.

Pretty as a Peacock by collage artist Megan Coyle

7. Frame your collage

Once your work of art is complete and the varnish has dried, you should frame your new collage to help protect it even more. Use acid-free matting and UV-protective glass. Since custom framing can be pricy, consider making your artwork with dimensions that fit standard sized frames.

Now you’re ready to share your artwork with the world!

How to Handle Criticism as an Artist

If you’re an artist or an aspiring artist, you’ll eventually find yourself getting faced with criticism. Some of the criticism will be constructive, while other times it will be too general to be useful. Criticism can sting, but it’s important to learn how to filter through the feedback you get so you don’t get too discouraged – and so you can improve in the areas that really matter.

I’ll admit that when I first started promoting my artwork online and exhibiting in galleries, any bit of criticism was pretty painful. It took years to learn how to filter through those comments so I could focus on what could improve my craft as an artist, instead of being crippled by any outside negativity. The reality is that as an artist, not everyone will enjoy your work. So you should focus more on the people who do enjoy your work, and how you can help them like it even more.

Here are some tips on how to handle criticism of your artwork:

1. Take note of the critique and push it aside.

This helps give you some distance from the criticism, and makes it easier to not take it personally so you can approach it with more of an analytical mindset. Being an artist is a personal experience. You put yourself into your work, and when it gets picked apart, it’s hard not to take it personally. So the first time you hear a critique, spend some time away from the comment. Then later, with a clear mind, revisit the feedback you received and see how it can be used to improve your craft.

2. Analyze what was said and figure out what was useful

Did the critic make a general statement without referencing anything specific? If so, no need to mull over their words since it won’t help you constructively.

3. Keep a file of any compliments or words of encouragement about your work.

It’s useful to look over this any time you get discouraging criticism, to serve as a reminder that other people do in fact enjoy your work.

4. Remind yourself why you’re an artist and keep creating.

It’s important to take every piece criticism with a grain of salt, so you don’t get too frustrated with your work. With art, it’s all too easy for others to be opinionated critics. Art is really subjective after all, and it’s important that you remind yourself what you love about your own work, so you can keep moving forward by growing in a direction that truly matters to you.

10 Ways to get Inspired

Inspiration is something that can find you at the most unexpected times, but it’s also something that you need to pursue. Inspiration won’t always come looking around for you. Often enough, admiring the work of others can help inspire your own ideas.

Here are a few things you can do to help increase your chances of getting inspired:

1. Go on an adventure

Getting a change of scenery can give you a new perspective on the world. This can be as simple as going on a local excursion or traveling to an entirely different city. When your surroundings are different, you notice the details more than you notice them in familiar places.

2. Read a book

Reading a book is like taking your mind on an adventure. You can lose yourself in someone else’s words, and find yourself walking away from the writing with a new spin on the world. That new spin, can generate new ideas.

3. Watch a critically acclaimed movie

Critically acclaimed movies can be works of art that make you think. By watching a more artistic film, you can get your own artistic ideas.

4. Go to a concert

Beautiful music, especially when played live, is a wonderful experience. The way your senses interact with the sounds and your surroundings, can trigger your own ideas.

5. Watch a documentary on a successful person

There’s no better motivation to stop sitting and start doing, than when you hear about the struggles and successes of a successful figure. If you find that you’re in a bit of a rut, it can help to hear about how other successful people have hit their own rough patches in life.

6. Write creatively

Writing can help you with brainstorming and the creative process.

7. Go for a walk or on a run

It can help to get away from whatever you’re working on, and start taking care of yourself more. And exercise can do precisely that.

8. Surprise someone

Doing something kind for someone else can help you look at life a little differently. So often we’re focused on ourselves, that when we shift that focus, it can change our outlook, which helps us creatively.

9. Go dancing

Similar to #7, dancing puts you in a different environment which can help you find inspiration. Sometimes having fun and getting outside of your head for a little bit, is all you need.

10. Just practice your craft

If you practice your craft even when you’re not feeling motivated or inspired, you can get a gust of inspiration simply by sitting down and making time for it.

How to “Paint with Paper”

Commuters is a collage by Megan Coyle

I call the collage technique I use, “painting with paper,” because I manipulate magazine strips in such a way that they mimic the brushstrokes in a painting. By focusing on color and texture, I cut magazine pages into various shapes that make up the shadows and highlights of different compositions.

If you’re interested in making your own “painting with paper” collage, here are the steps you can follow:

1. Gather your materials

You’ll need:

  • a stack of magazines
  • watercolor paper or some sort of material to make your collage on
  • pencil and eraser
  • scissors
  • acid-free glue stick (this makes it easier to make adjustments to your collage when it’s still a work in progress)
  • UV-protective varnish

Materials that Megan Coyle uses for her collages

2. Pick a composition

Figure out what you want to collage. I like to take photos when I travel, which I later use as reference images for my artwork. I typically like to use animals, still life, landscapes, and people as the subjects for my art.

3. Sketch our your composition

On the support you’re using, sketch out your composition so you have a plan for the direction of your collage. The detail of the sketch may depend on the composition – for example, it may be simpler for minimalist landscape compositions, or more detailed when capturing the likeness of someone for a portrait.

Sketch of Commuters by collage artist Megan Coyle

4. Select colors and patterns

Page through the stack of magazines and tear out pages that have colors and patterns you’d like to incorporate into your collage. Sometimes I like to sort the magazine pages by color to make it easier when it comes to piecing together the collage.

Materials that Megan Coyle uses for her collages

5. Cut and paste shapes from the magazine pages

Cut out different shapes from the magazine pages based on the different shapes of shadows and highlights that compose your composition. Paste them on top of your sketch. You may want to cut several shapes before you start pasting, or paste the shapes down as you go.

Work in Progress of Commuters by collage artist Megan Coyle

6. Keep piecing it together

Add as many layers as you need in order to have the collage looking the way you want it to look. What’s great about collage, is that you can easily peel back previous layers if they aren’t working for you. You can also add layers to different sections.

Commuters by collage artist Megan Coyle

7. Varnish your collage

Once your collage is complete, varnish it with a UV-protective varnish so all the magazine strips stay in place. This will also help protect the paper from sunlight. Paper is a delicate material, and you’ll want to take as many steps as possible to protect your artwork.

8. Frame your collage

I’d recommend framing your collage with UV-protective glass as well.


And there you have it – the steps for making your own “painting with paper” collage. Feel free to leave a comment below if you have any questions or need some clarification on the process.

How to Develop a Creative Support Network

"One, Two, Three Giraffes" by collage artist Megan Coyle

Criticism and hard work come with the territory of being an artist. And in order to move past all that criticism, and make all that hard work not seem like work, it’s good to have a strong support network in place for yourself. A support network can help you achieve your creative goals by being a source of motivation and encouragement.

Here’s how you can build your own creative network:

1. Ask for Help

Reach out to local artists you admire for advice. Who knows, maybe you’ll build a few friendships out of those connections, and artistic friendships are powerful.

2. Surround Yourself With Your Champions

Spend more time around people who encourage you. Spend less time or avoid the naysayers. You want to surround yourself with people who lift you up and challenge you in good ways, while distancing yourself from those who discourage or put down your work.

3. Give Back to the Community

Volunteer your time as a creative – let that be by visiting schools or organizations to talk about your technique and process, or by offering career advice to aspiring artists. Giving more than you get is a great way to not only grow as an artist, but as a person.

4. Network

Get to know other artists and art enthusiasts in the community by attending local art openings and exhibits. You can also meet other artists or aspiring artists by taking art classes or attending creative meetups.


A strong network can serve as a great resource for helping you shape your art career. It can also encourage you when you’re feeling discouraged or overwhelmed. It’s always helpful to know that you’re not alone with the struggles and joys of living the creative life, and hearing other artists share stories about their experiences can help you feel relieved about the direction you’re headed with your work. And best of all, a network can inspire you – meeting wonderful people who do their own exciting work, can motivate you to challenge yourself in new ways.

How to Become an Artist

"The Daydreaming Fish" by collage artist Megan Coyle

I often hear from art students and other aspiring artists who ask me for tips on how they can become an artist. I thought I’d share some advice on how someone can get started if they want to become an artist:

1. Start making art

You have to start somewhere, and the first step to becoming an artist is to start making art. Put your frustrations and negative thoughts aside and focus on putting the practice in. Watch YouTube videos of techniques that other artists are using, and try to use these techniques on your own. Practice sketching famous works of art, then start drawing from pictures you’ve taken or draw from real life.

2. Take classes

Take an art class to help encourage and motivate your work. Classes can help you get a better foundation in areas where you might be shaky, and with practice, comes confidence. They are also a great way to get advice and feedback from more experienced artists.

3. Evaluate your work and ask others to critique it

Every now and then, set your artwork aside and don’t look at it for a little while. Then return to it so you can evaluate your work with fresh eyes. Make note of what you think really works for the piece and what areas need improvement. Continue working on improving the work, or start over with a new work of art and keep what areas of improvement you need in mind. If you’re not sure how to improve a specific work of art, ask for others to help you out by critiquing your art. Ask them how you can improve your work and what they currently like about it. As an artist, it’s important to constantly improve and refine your craft.

4. Make time for your art

It’s a good idea to map out a schedule for making art, so you can constantly work on practicing your craft. It’s difficult to get better at something if you aren’t actually practicing it. For some more advice on this, checkout 7 Ways to Make Time for Your Artwork.

5. Build a portfolio

A crucial piece to promoting your work as an artist, is to build a strong portfolio. As you make art, take pictures of every finished piece. Then start sifting through the images and select your best pieces that also reflect the variety of work you can produce. You don’t want every piece in your portfolio looking too similar, but you also want to make sure that each piece reflects your strength as an artist.

6. Find a marketing strategy

One way that you can promote your artwork is by looking into local art centers and organizations that hold exhibitions, and start submitting your work to exhibits. Also figure out what ways you want to promote your work online – put together an online portfolio website and pick the social media platforms you’d prefer to use to post images of your work and share them with the world.

7. Connect with other artists

As you work on developing your craft and spreading the word of your art, it’s also important to connect with other artists you admire as well as more experienced artists in your local arts community. Seek out other artists who you can ask for advice.

8. Never give up

One of the biggest parts to being an artist is being persistent, and never giving up. If one technique doesn’t seem to work for you, try focusing on something else for a little while before returning to it. Being persistent and pivoting when necessary, is an essential part to being an artist.


Becoming an artist is journey that takes time and a lot of trial and error. I’m constantly trying to find ways to improve my artwork and the way I promote it. Some of the things I’ve tried have failed miserably, while other things have unexpectedly worked. You’ll never know for sure what can work for you until you start trying.

7 Ways to Make Time for Your Artwork

Daytime at the Capitol by collage artist Megan Coyle

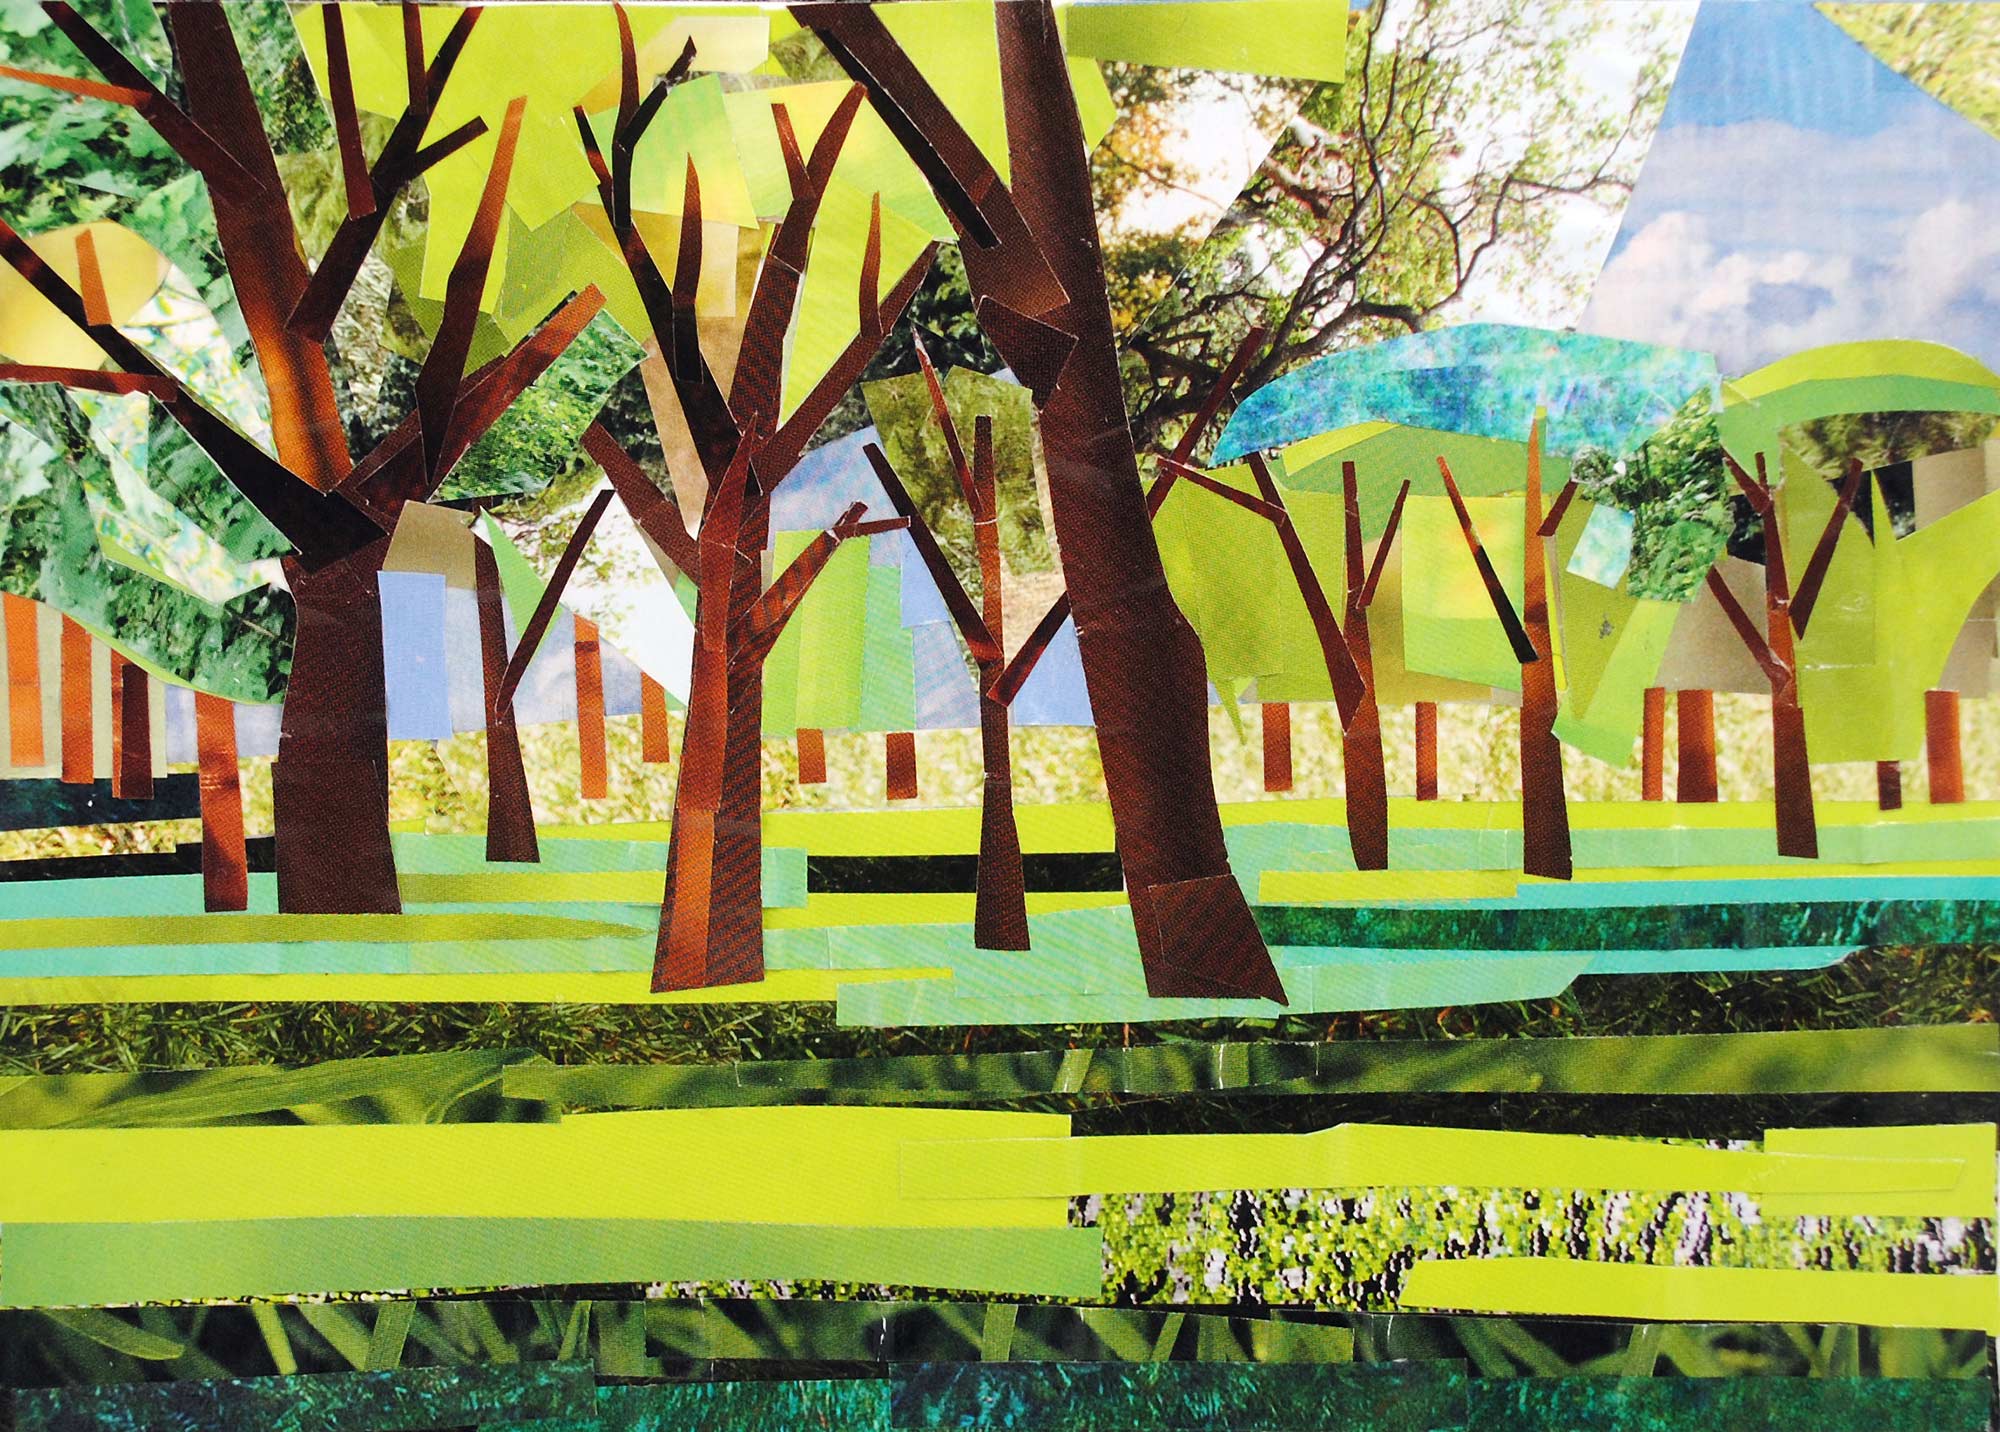
Trying to find time to make artwork can be an intimidating task at hand. If you’re like me and have a full-time job, enjoy spending time with your family and friends, and also want to have time to make artwork, it’s easy to get overwhelmed by everything.

In an effort to make art making easier to fit into your schedule, here are a few ways you can make time for your creativity:

1. Make a schedule and stick to it

It’s easier to have time to do something when it becomes part of your weekly routine. Try carving out a few minutes a day during the week or on the weekend where you’ll devote some time to artwork. Even if you’re only devoting ten minutes a day, at least you’ll spend a little time at it. Plus, the most difficult part is getting started. Often times what was initially going to be ten minutes of creative time, can easily turn into a couple of hours once you find yourself getting caught up in your work.

2. Limit the time you spend on your smartphone or on social media

If you’re one of those people who checks his or her phone numerous times an hour, try to get into the habit of turning off your phone, or turning it on silent and hiding it, so you won’t get distracted by push notifications and other in-your-face alerts. It’s easy to get caught up in whatever is trending for a given hour when you’re constantly tied to your device. But when you set it aside for a while, it’s easier to have more time to do other things like make artwork.

3. Brainstorm the activities you want to do each week and map them out on a calendar

I like to come up with a rough idea of what I want to do each week. Then I map out what I plan to do every day of the week. I used to have a never ending to-do list, which quickly got out of control and got easier to ignore. I found that adding only one or two tasks for a given day was an easier way to cross items off my to-do list without getting overwhelmed. I found that this especially worked well when I wanted to make sure I did something art-related every day.

I also like to use an online calendar to manage these tasks, since digital calendars make it a lot easier to move things around if something comes up. You can always (and easily) reassign tasks to another day.

4. Take a class

Sometimes it’s not necessarily a matter of not having enough time to make artwork, it’s more along the lines of not being inspired enough to find time to make artwork. When you’re lacking motivation or inspiration, it can be difficult to set aside any time at all for art. By taking an art class, you can give yourself a little push to find time for art every week. You could also get some ideas from my post on 10 Ways to Get Inspired with Your Artwork.

5. Find ways to ease art into your schedule

There are times when making a schedule for your art seems too structured and intimidating, and you’d prefer other ways to work it into your life. One way is to ease art into your life gradually. If you enjoy watching the news or a little bit of TV at the end of the day, one way to start incorporating art-making time into your life is by working on a project while the TV is playing. That way, you can not only follow along with the news or other TV show, but you can also get some art done.

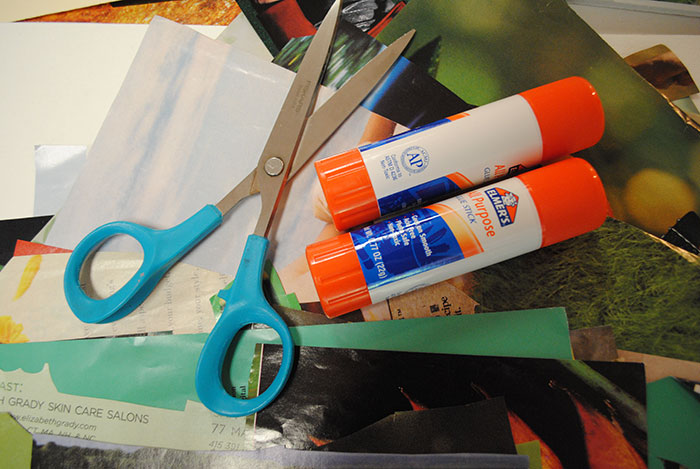
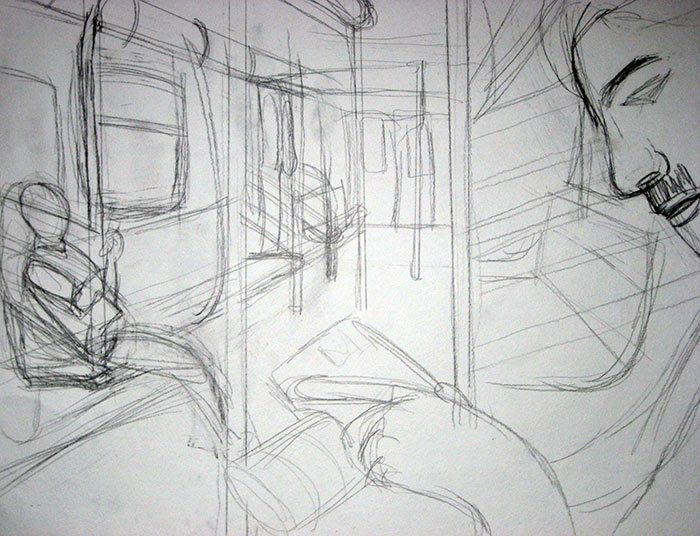
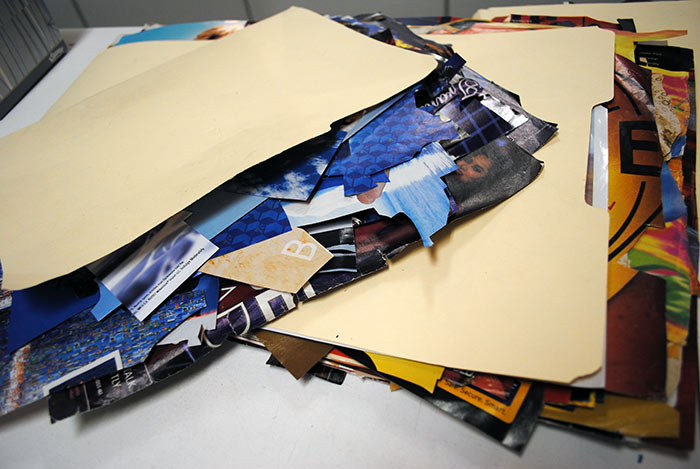
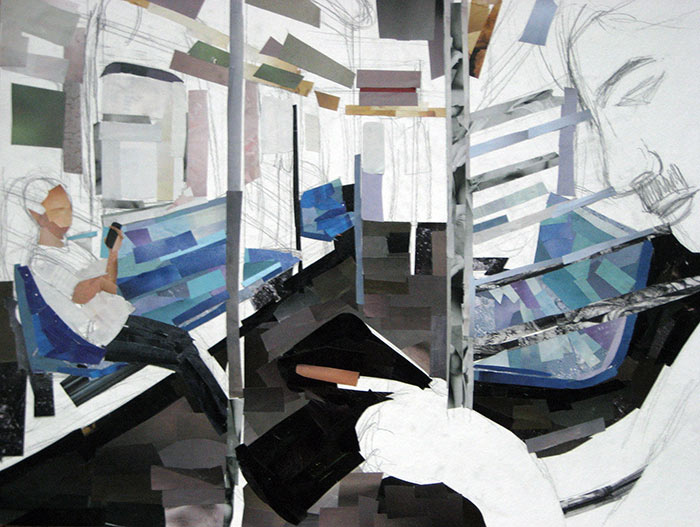
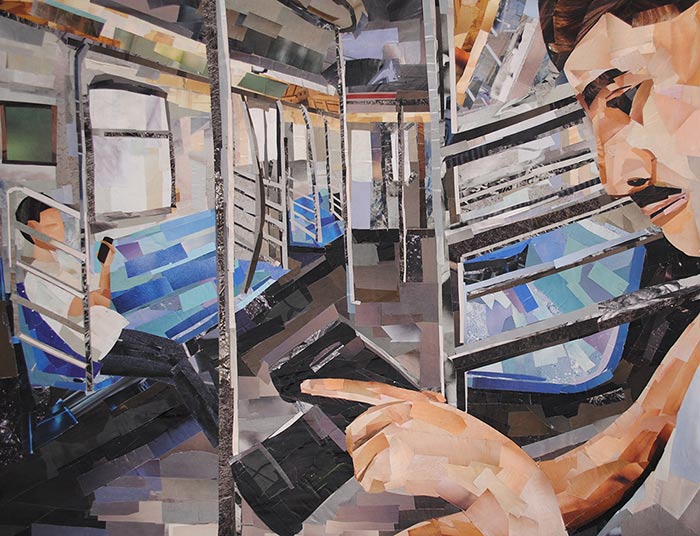
6. Have a designated space for making artwork

If you have no real workspace for your art, then making artwork will become more of a hassle when you have to recreate your studio environment every time you want to work on a project. If you set up a space where your supplies and work in progress are set out, it will make it a lot easier to continue working on a piece. In fact, any work in progress sitting in your studio space can serve as a reminder that you should get back to art making at some point in time.

7. Set goals

Without any concrete goals or a tangible vision, you can easily get lost. By defining your goals and what you want to accomplish with your artwork, you’ll have an easier time setting aside time for art when you have an end-goal in mind.


The art making process is indeed a process, and you should keep that in mind when making artwork and working on refining your style and technique – art making takes time. And the only way you can continue to grow as an artist, is if you work on finding that time to develop your craft.

10 Exercises to Help you get Inspired with Your Artwork

Puppies in Jail by collage artist Megan Coyle

Inspiration can take work, just like being an artist takes work. As an artist, you need to consistently schedule the time to practice your craft. When it comes to inspiration, you need to be dedicated to discovering and exploring different ways that you can jumpstart your creativity.

I usually find that getting myself out of my comfort zone helps energize my mind and makes me ready to tackle new and exciting things. So if you’re having trouble getting inspired, here are a few ideas of things you can do:

1. Walk around your neighborhood and challenge yourself to take ten creatively cropped pictures

This will help you start thinking creatively about common, everyday things and settings by looking at them in a new light.

2. Make a claymation inspired by a dream you had

Working with clay and thinking creatively about illustrating different moments in time, even if they can seem silly and nonsensical like dreams, will help you find the art in moments.

The Ewok Terrier by collage artist Megan Coyle
“The Ewok Terrier” Collage on paper. 5″x7″
Order a print

3. Play with your food

Find different and unique ways to rearrange the food on your plate. This can help you find the fun in everyday activities. And who knows, perhaps this could inspire a fun new series.

4. Find ten different items in your room and create characters inspired by them

This is another exercise in finding the art in common, ordinary things. Our lives can’t always be really exciting or inspiring, so it’s up to you to find that inspiration in what might otherwise be drab or dull.

5. Write a poem where the first line comes from the first thing that pops into your head

Brainstorming ideas can sometimes feel like a chore. Turning it into more of a game can help you find inspiration, and get into a brainstorming rhythm.

6. Take a series of photos to make a flipbook

It’s great to look at things you’re used to and might normally overlook in a new way. Making a flipbook can help you focus on making mundane actions interesting.

7. Make a collage entirely from cutting and layering text

This allows you to look at typography in a new way – by focusing more on the shape and color of text than the actual content.

Portrait of a Dog by collage artist Megan Coyle
“Malachi” Collage on paper. 9″x12″
Order a print

8. Make a painting without using a paintbrush

Again, this gets you thinking outside the box. Without a brush, what kind of shapes and strokes can you make with other objects or tools that are dipped in paint?

9. Find the music in normal sounds and dance to it

Avoid succumbing to the humdrum of routine and the ordinary, by training your ears and mind to find the music around you.

10. Pretend you are someone else – what kind of work would you make? Try it!

Learning to see things from someone else’s perspective is a useful skill to have. If you’re making art from someone else’s point of view, it could help you think more about the messaging behind your work.